主页 > 经验 >
为什么电脑不能登录qq邮箱 电脑不能登录qq邮箱的解决方法
为什么电脑不能登录qq邮箱 电脑不能登录qq邮箱的解决方法 方法1 【百度电脑专家】一键修复
建议下载并安装百度电脑专家。打开【百度电脑专家】,在搜索框内输入“无法登录QQ邮箱”,在搜索结果里面选择【立即修复】,修复完成后查看能否正常登录:

方法2 注册IE组件
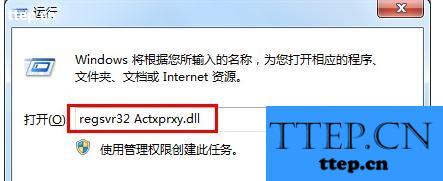
使用快捷键“Win+R”弹出【运行】,输入“regsvr32 Actxprxy.dll”,点击【确定】:
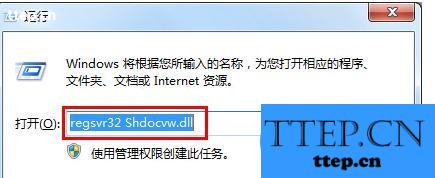
再用同样的方式,使用快捷键“Win+R”弹出【运行】,输入“regsvr32 Shdocvw.dll”,点击【确定】即可:
以上方法如果还不行,需重复上以上步骤注册以下组件,然后重启浏览器:

regsvr32 Mshtml.dll
regsvr32 Urlmon.dll
regsvr32 Browseui.dll
regsvr32 Oleaut32.dll
regsvr32 Shell32.dll
方法3 重置DNS(win7)
(xp系统可参照此方法)点击【网络】右键选择【属性】,点击【更改适配器设置】:

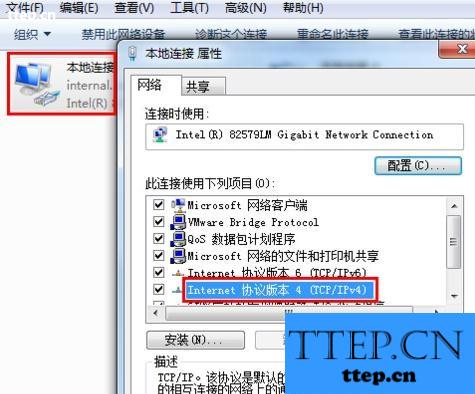
点击【本地连接】右键选择【属性】,然后双击【Internet 协议版本4(TCP/IPv4)】:
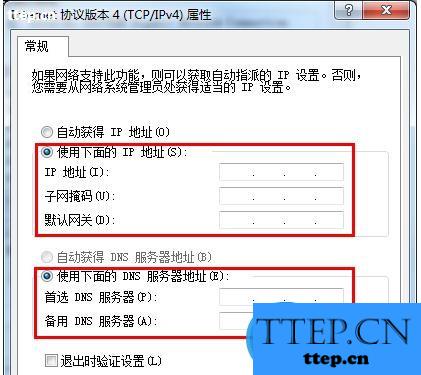
输入正确的IP地址和DNS,若不知道可叫公司网管告知,点击【确定】即可:
建议下载并安装百度电脑专家。打开【百度电脑专家】,在搜索框内输入“无法登录QQ邮箱”,在搜索结果里面选择【立即修复】,修复完成后查看能否正常登录:

方法2 注册IE组件
使用快捷键“Win+R”弹出【运行】,输入“regsvr32 Actxprxy.dll”,点击【确定】:

再用同样的方式,使用快捷键“Win+R”弹出【运行】,输入“regsvr32 Shdocvw.dll”,点击【确定】即可:

以上方法如果还不行,需重复上以上步骤注册以下组件,然后重启浏览器:

regsvr32 Mshtml.dll
regsvr32 Urlmon.dll
regsvr32 Browseui.dll
regsvr32 Oleaut32.dll
regsvr32 Shell32.dll
方法3 重置DNS(win7)
(xp系统可参照此方法)点击【网络】右键选择【属性】,点击【更改适配器设置】:

点击【本地连接】右键选择【属性】,然后双击【Internet 协议版本4(TCP/IPv4)】:

输入正确的IP地址和DNS,若不知道可叫公司网管告知,点击【确定】即可:

- 最近发表
- 赞助商链接