主页 > 经验 >
如何用WPS文档排版方法步骤 电脑中WPS文字排版技巧汇总
如何用WPS文档排版方法步骤 电脑中WPS文字排版技巧汇总。我们在使用电脑的时候,总是会遇到很多的电脑难题。当我们在遇到了需要在WPS中设置文档排版的时候,我们应该怎么操作呢?一起来看看吧。
wps文字排版的方法:
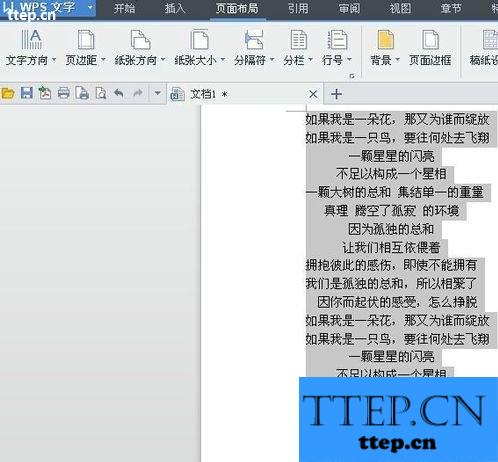
首先打开WPS文字版,插入你要编辑的内容,全选
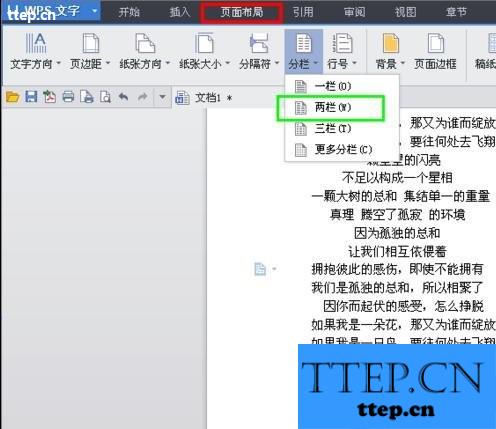
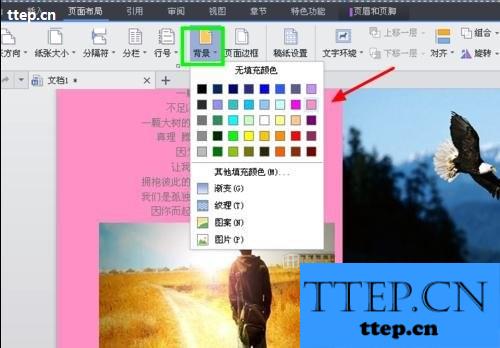
切换到“负面布局”点击“分栏”选择你想要的栏数,我这里选的是两栏。
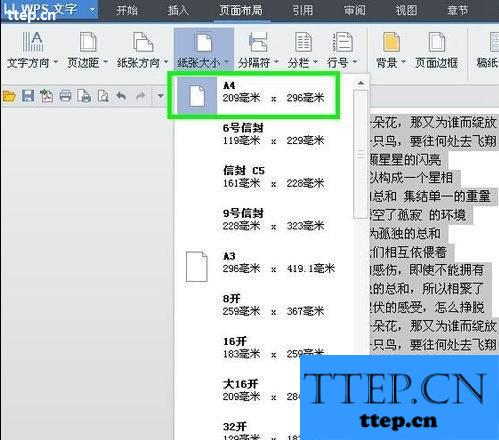
再点击旁边的“纸张大小”选择规格,
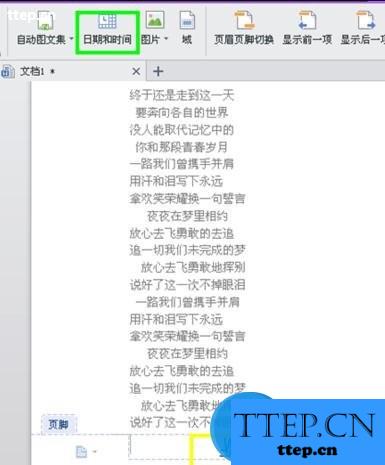
在箭头指的地方输入标题,可以在框内选择文字的字体、大小、颜色。页眉就可以了。
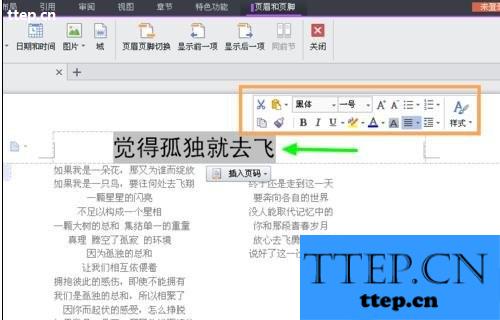
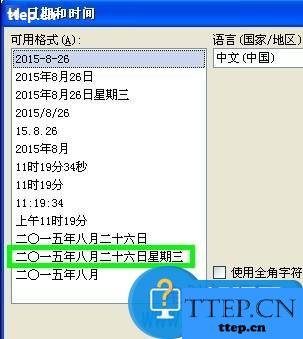
接下来是页脚,可以选择上面的“日期和时间”然后选择你要的类型,确定。也可以自己编辑了。
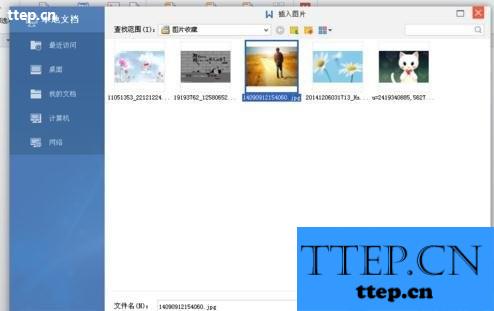
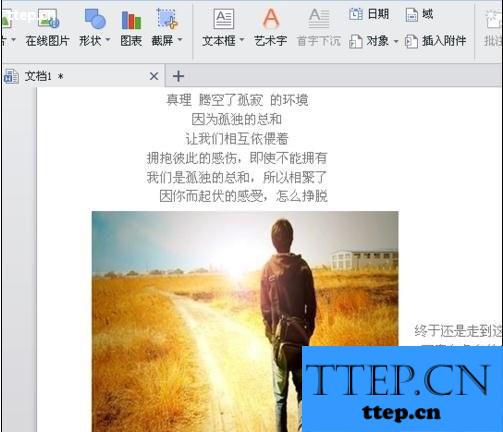
接着就插入图片了,找到图片所在的文件夹,单击图片,确定。
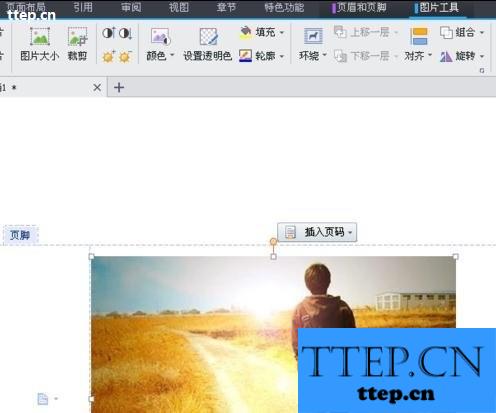
点击上面的“文字环绕”或者只有“环绕”,选择图片想放的位置。
拖动图片,调整图片大小,放在合适的位置上。
最后换个背景颜色,就完成了,漂亮多了。
wps文字排版的方法:
首先打开WPS文字版,插入你要编辑的内容,全选

切换到“负面布局”点击“分栏”选择你想要的栏数,我这里选的是两栏。

再点击旁边的“纸张大小”选择规格,

在箭头指的地方输入标题,可以在框内选择文字的字体、大小、颜色。页眉就可以了。

接下来是页脚,可以选择上面的“日期和时间”然后选择你要的类型,确定。也可以自己编辑了。


接着就插入图片了,找到图片所在的文件夹,单击图片,确定。


点击上面的“文字环绕”或者只有“环绕”,选择图片想放的位置。
拖动图片,调整图片大小,放在合适的位置上。

最后换个背景颜色,就完成了,漂亮多了。

- 上一篇:10分钟破解无线路由器密码步骤
- 下一篇:常用软件默认保存路径的修改方法
- 最近发表
- 赞助商链接