主页 > 经验 >
如何彻底删除itunes,针对于WIN7下彻底删除itunes的方法
itunes如果遇到问题的时候,就需要进行卸载,可是如果没有彻底卸载itunes则不可以重新安装。这篇经验就小猪个人经验,分享给大家,教大家怎样彻底地删除itunes。 itunes如果遇到问题的时候,就需要进行卸载,可是如果没有彻底卸载itunes则不可以重新安装。这篇经验就小猪个人经验,分享给大家,教大家怎样彻底地删除itunes。
在itunes卸载前建议先备份下itunes资料库里的东西:
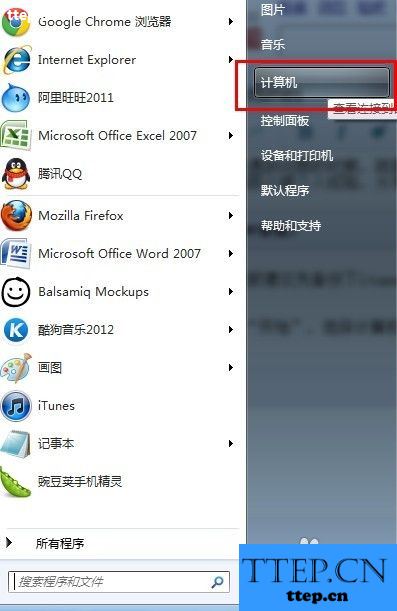
打开“开始”,选择“计算机”
在计算机里的右侧,里找到“音乐”进入

音乐里有个“itunes”的文件夹,右键文件夹,进行重命名。小猪这里命名为“itunes0412”。大家可以自由进行命名。命名的目的是重新安装itunes后,会出现一个itunes文件夹。如果不删除则不能重新安装itunes。
这样就把你itunes里的所有资料库里的资料进行备份。
 卸载itunes步骤(WIN7系统)
itunes涉及很多相关的独立组件,不是单单卸载itunes就可以的。卸载itunes一定要按照以下顺序依次进行,否则将不能完全卸载itunes。切记!
以下开始介绍itunes的卸载步骤:
删除itunes程序
首先退出运行中的itunes。
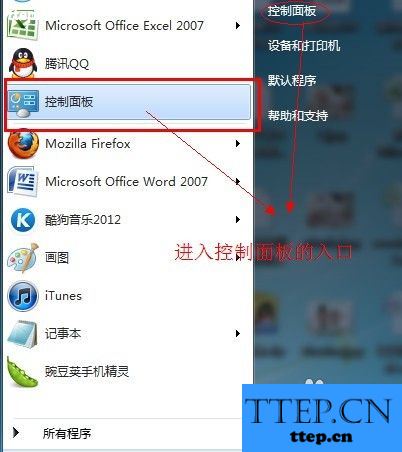
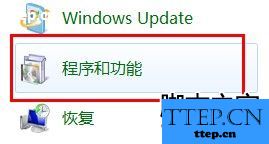
打开“控制面板”,找到“程序和管理”
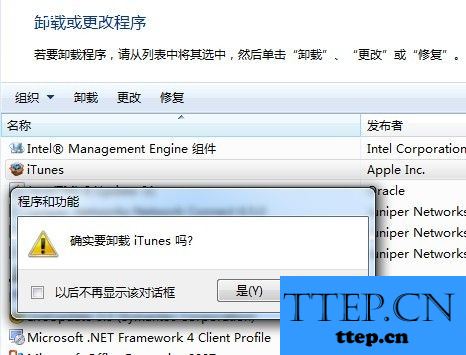
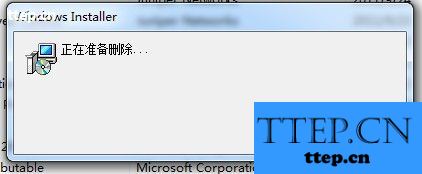
从安装的程序列表中,找到“itunes”,右键点击“卸载”
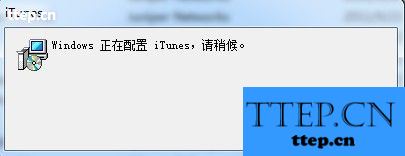
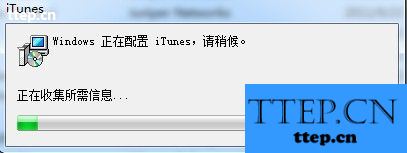
系统会询问是否要删除,点击“是”,自动进入删除。
若有提示重启电脑,可先不重启如果存在其他itunes程序项目,一并删除。
然后查看下更新程序,若里面有itunes或者ipd更新程序一律删除。


删除QuickTime程序(小猪的itunes没有安装,故跳过这个步骤)
从安装的程序列表中,找到“QuickTime”,右键点击“卸载”
系统会询问是否要删除,点击“是”,自动进入删除。
然后检查下,是否还存在其他QuickTime程序项目,一并删除。
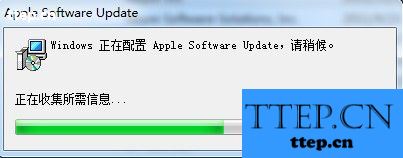
删除Apple Software Update程序
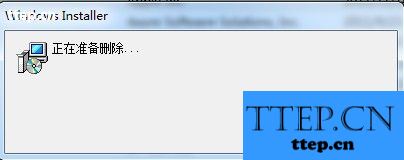
从安装的程序列表中,找到“Apple Software Update”,右键点击“卸载”
系统会询问是否要删除,点击“是”,自动进入删除。
然后检查下,是否还存在其他Apple Software Update程序项目,一并删除。


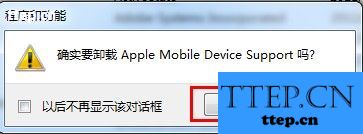
删除Apple Mobile Device Support程序
从安装的程序列表中,找到“Apple Mobile Device Support”,右键点击“卸载”
系统会询问是否要删除,点击“是”,自动进入删除
然后检查下,是否还存在其他Apple Mobile Device Support程序项目,一并删除。


删除Bonjour程序
从安装的程序列表中,找到“Bonjour”,右键点击“卸载”
系统会询问是否要删除,点击“是”,自动进入删除
然后检查下,是否还存在其他Bonjour程序项目,一并删除。


删除Apple Application Support程序
从安装的程序列表中,找到“Apple Application Support”,右键点击“卸载”
系统会询问是否要删除,点击“是”,自动进入删除
然后检查下,是否还存在其他Apple Application Support程序项目,一并删除。


卸载完毕了,最后检查一遍,然后重启电脑。重启后按照卸载准备上的,检查是否还存在“itunes”文件夹,若没有则代表卸载彻底完成。
注意事项
一定要按照上面的顺序进行操作,也不要只卸载其中一部分组件,会导致警告信息的出现。
卸载itunes软件,从itunes stor购买的歌曲或者自行导入的歌曲默认存储在“我的音乐”里,删除itunes不会进行删除。
有些电脑没有安装完全上述软件,一点要检查仔细后跳过此个步骤就可。
卸载itunes程序要确认把itunes的更新或者ipod的更新全部删除。
在itunes卸载前建议先备份下itunes资料库里的东西:
打开“开始”,选择“计算机”

在计算机里的右侧,里找到“音乐”进入

音乐里有个“itunes”的文件夹,右键文件夹,进行重命名。小猪这里命名为“itunes0412”。大家可以自由进行命名。命名的目的是重新安装itunes后,会出现一个itunes文件夹。如果不删除则不能重新安装itunes。
这样就把你itunes里的所有资料库里的资料进行备份。
 卸载itunes步骤(WIN7系统)
itunes涉及很多相关的独立组件,不是单单卸载itunes就可以的。卸载itunes一定要按照以下顺序依次进行,否则将不能完全卸载itunes。切记!
以下开始介绍itunes的卸载步骤:
删除itunes程序
首先退出运行中的itunes。
打开“控制面板”,找到“程序和管理”
从安装的程序列表中,找到“itunes”,右键点击“卸载”
系统会询问是否要删除,点击“是”,自动进入删除。
若有提示重启电脑,可先不重启如果存在其他itunes程序项目,一并删除。
然后查看下更新程序,若里面有itunes或者ipd更新程序一律删除。


删除QuickTime程序(小猪的itunes没有安装,故跳过这个步骤)
从安装的程序列表中,找到“QuickTime”,右键点击“卸载”
系统会询问是否要删除,点击“是”,自动进入删除。
然后检查下,是否还存在其他QuickTime程序项目,一并删除。
删除Apple Software Update程序
从安装的程序列表中,找到“Apple Software Update”,右键点击“卸载”
系统会询问是否要删除,点击“是”,自动进入删除。
然后检查下,是否还存在其他Apple Software Update程序项目,一并删除。


删除Apple Mobile Device Support程序
从安装的程序列表中,找到“Apple Mobile Device Support”,右键点击“卸载”
系统会询问是否要删除,点击“是”,自动进入删除
然后检查下,是否还存在其他Apple Mobile Device Support程序项目,一并删除。


删除Bonjour程序
从安装的程序列表中,找到“Bonjour”,右键点击“卸载”
系统会询问是否要删除,点击“是”,自动进入删除
然后检查下,是否还存在其他Bonjour程序项目,一并删除。


删除Apple Application Support程序
从安装的程序列表中,找到“Apple Application Support”,右键点击“卸载”
系统会询问是否要删除,点击“是”,自动进入删除
然后检查下,是否还存在其他Apple Application Support程序项目,一并删除。


卸载完毕了,最后检查一遍,然后重启电脑。重启后按照卸载准备上的,检查是否还存在“itunes”文件夹,若没有则代表卸载彻底完成。
注意事项
一定要按照上面的顺序进行操作,也不要只卸载其中一部分组件,会导致警告信息的出现。
卸载itunes软件,从itunes stor购买的歌曲或者自行导入的歌曲默认存储在“我的音乐”里,删除itunes不会进行删除。
有些电脑没有安装完全上述软件,一点要检查仔细后跳过此个步骤就可。
卸载itunes程序要确认把itunes的更新或者ipod的更新全部删除。
- 最近发表
- 赞助商链接