主页 > 经验 >
u盘提示写保护无法格式化怎么办 u盘不能格式化提示被写保护解决
u盘提示写保护无法格式化怎么办 u盘不能格式化提示被写保护解决方法。我们在使用电脑等设备的时候,总是难免会遇到很多我们解决不了的问题,这都是正常的。当我们在遇到了u盘在电脑中提示写保护无法格式化的时候,我们应该怎么办呢?一起来看看吧。
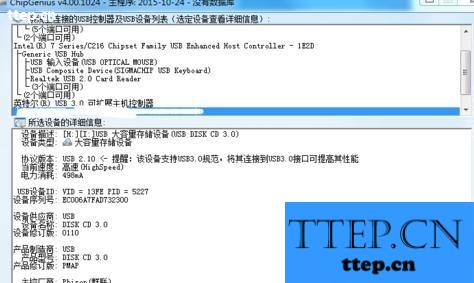
使用ChipGenius_v4_00_1024查看主控厂商和主控型号(PS2251-03)。
下载U盘系统维护.iso。
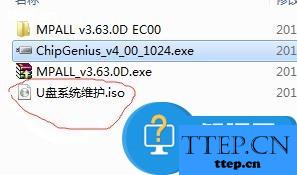
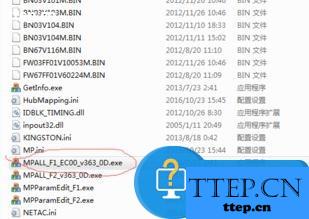
下载MPALL_v3.63,解压,双击打开。
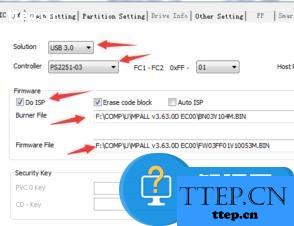
点击setting。
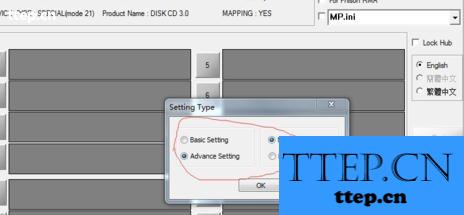
配置如图。
切换到Partition Setting标签页,Mode选择下载好的iso文件。
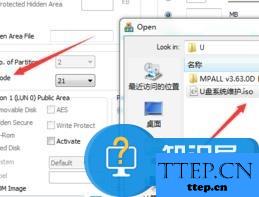
保存覆盖MP.ini。

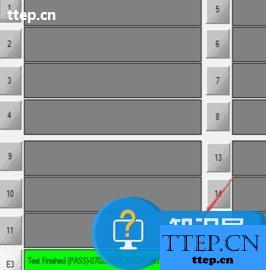
勾选配置好的MP.ini,点击update。

点击start,等待加载完成。重新拔插U盘就可以格式化完成。
对于我们在遇到了电脑格式化u盘的时候,提示被保护无法格式化的。那么我们就可以利用到上面给你们介绍的解决方法进行处理,希望能够对你们有所帮助。
使用ChipGenius_v4_00_1024查看主控厂商和主控型号(PS2251-03)。

下载U盘系统维护.iso。

下载MPALL_v3.63,解压,双击打开。

点击setting。

配置如图。

切换到Partition Setting标签页,Mode选择下载好的iso文件。

保存覆盖MP.ini。

勾选配置好的MP.ini,点击update。

点击start,等待加载完成。重新拔插U盘就可以格式化完成。

对于我们在遇到了电脑格式化u盘的时候,提示被保护无法格式化的。那么我们就可以利用到上面给你们介绍的解决方法进行处理,希望能够对你们有所帮助。
- 最近发表
- 赞助商链接
-