主页 > 经验 >
photoshop制作gif图片怎么做 photoshop制作gif图片方法教程
photoshop制作gif图片怎么做 photoshop制作gif图片方法教程。大家都知道gif格式的图片越来越受欢迎,gif图片的制作方法很多,可以使用专门的软件制作,使用专门的软件制作起来很轻松,不过我们今天是通过使用Photoshop来制作的,一起来看看是如何制作的吧。
打开Photoshop,进入Photoshop的工作界面,如图所示:
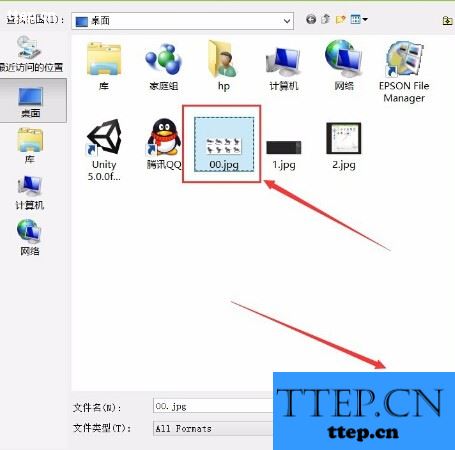
在工作区双击鼠标左键,弹出打开图片对话框,如图所示:
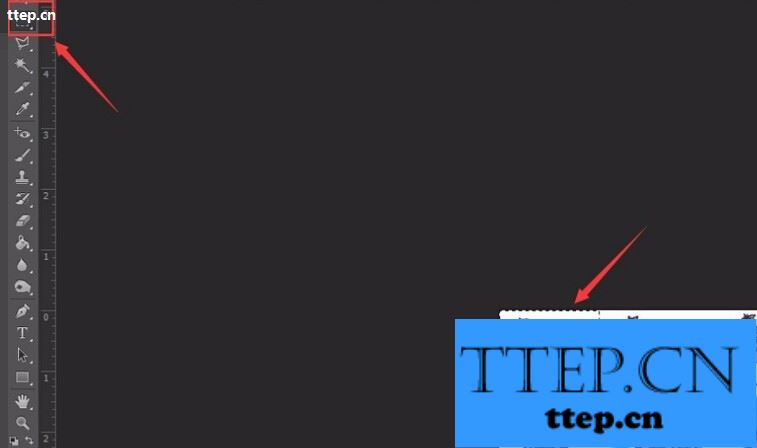
首先我们需要将该图片裁切开,在左边的工具箱里选择矩形选框工具,选择我们的图片,如图所示:
找到上面菜单栏里的选择菜单,在其下拉菜单里找到保存选区命令,弹出保存选区对话框,保持默认选择,点击OK键,选区就被保存起来了,如图所示:
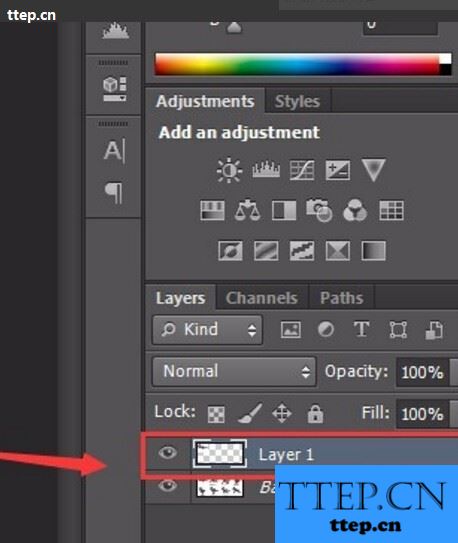
按下键盘的CTRL+J键复制选择的内容,可以看到在图层面板里就复制出一张图片,如图所示:
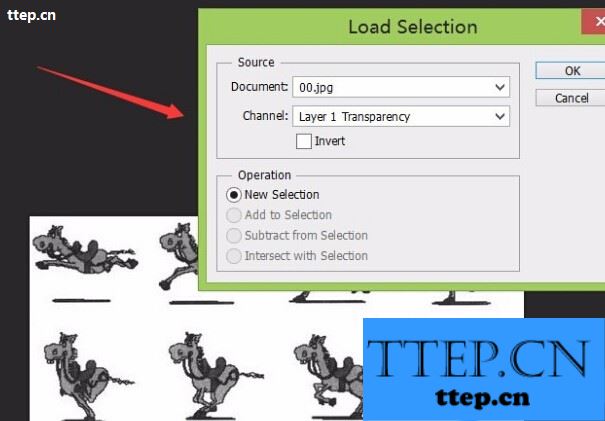
找到上面菜单里的选择菜单,在其下拉菜单里找到载入选区命令,弹出载入选区对话框,选择我们刚刚保存的选区,如图所示:

点击OK键,我们保存的选区就被载入进来了,移动该选区到另一个图上,如图所示:
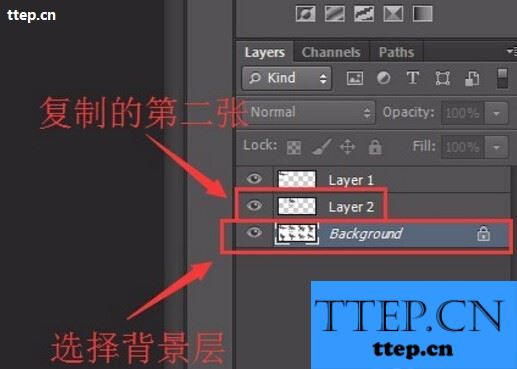
选择背景图层,按下键盘的CTRL+J 进行复制,图层里就复制出一张图层2的图片,如图所示:
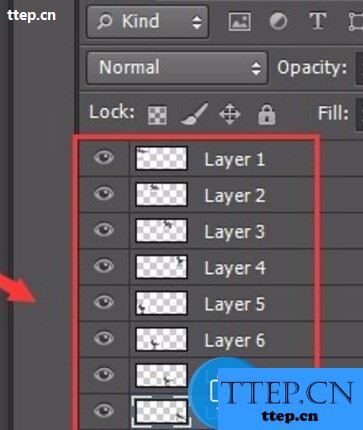
重复第5,6,7,8步,将所有的图片裁切出来,如图所示:
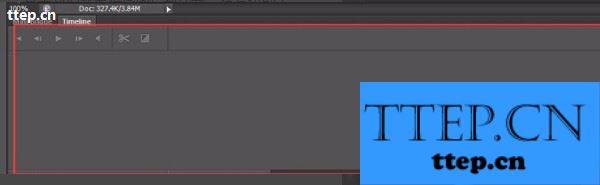
在上面的菜单栏里找到窗口菜单,在其下拉菜单里找到时间线命令,点击后在下面就出现了时间线窗口,如图所示:
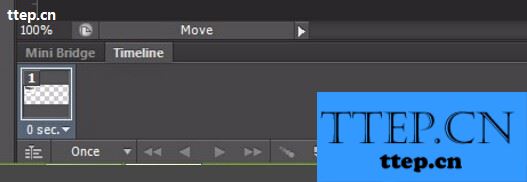
点击创建帧动画按钮,进入编辑区,如图所示:
打开Photoshop,进入Photoshop的工作界面,如图所示:

在工作区双击鼠标左键,弹出打开图片对话框,如图所示:

首先我们需要将该图片裁切开,在左边的工具箱里选择矩形选框工具,选择我们的图片,如图所示:

找到上面菜单栏里的选择菜单,在其下拉菜单里找到保存选区命令,弹出保存选区对话框,保持默认选择,点击OK键,选区就被保存起来了,如图所示:

按下键盘的CTRL+J键复制选择的内容,可以看到在图层面板里就复制出一张图片,如图所示:

找到上面菜单里的选择菜单,在其下拉菜单里找到载入选区命令,弹出载入选区对话框,选择我们刚刚保存的选区,如图所示:

点击OK键,我们保存的选区就被载入进来了,移动该选区到另一个图上,如图所示:

选择背景图层,按下键盘的CTRL+J 进行复制,图层里就复制出一张图层2的图片,如图所示:

重复第5,6,7,8步,将所有的图片裁切出来,如图所示:

在上面的菜单栏里找到窗口菜单,在其下拉菜单里找到时间线命令,点击后在下面就出现了时间线窗口,如图所示:

点击创建帧动画按钮,进入编辑区,如图所示:
- 最近发表
- 赞助商链接