TTEP.CN > 软件 >
excel表格中字体大小 excel表格字体颜色
excel表格中字体大小 excel表格字体颜色 excel表格中的字体没有突出重点,湘江重点的文字加粗设置大一些,顺便修改一下颜色,需要的朋友可以参考下对于初学办公软件的人来说,设置字体的种类、大小、粗体、斜体等就是最基础的了。那我们一起来看看怎样设置字体的这些基本方法。
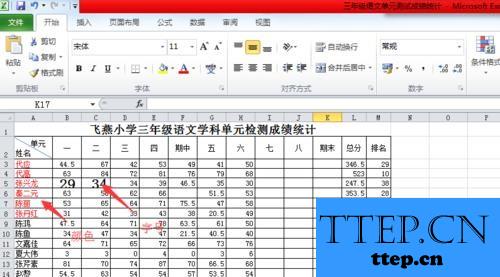
1、打开一个Excel电子表格,制作表格,输入相关内容。

2、选中需要设置的单元格,点击工具栏中的颜色选择按钮,在颜色模块里选择自己喜欢或适合的颜色,点击即可设置成功。

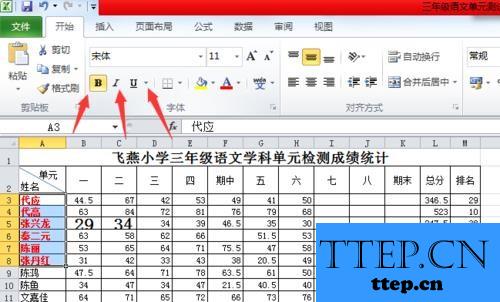
3、点击工具栏中“B”“I" "U"按钮进行加粗、斜线和加下划线的处理。
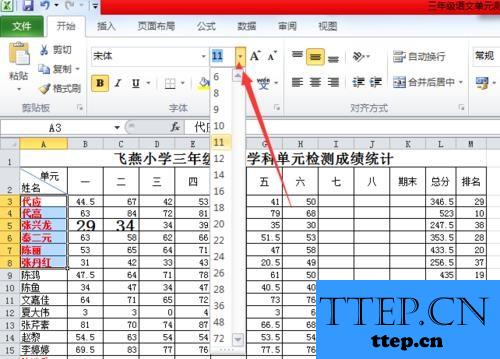
4、设置字号的大小,点击工具栏中的”字号“设置按钮,点击相应数字即可设置。
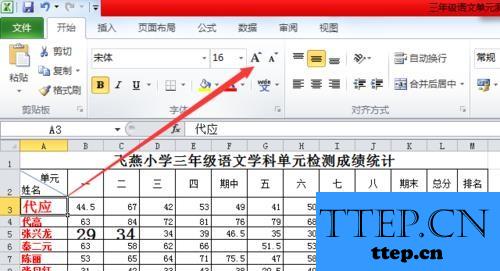
5、还可以进行字体增大和减小处理。
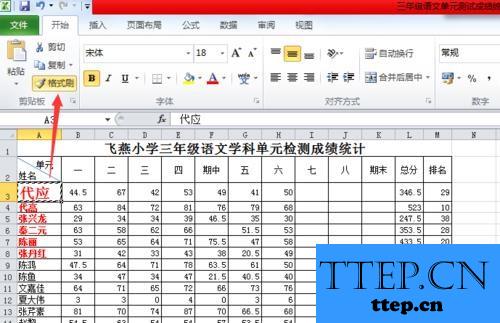
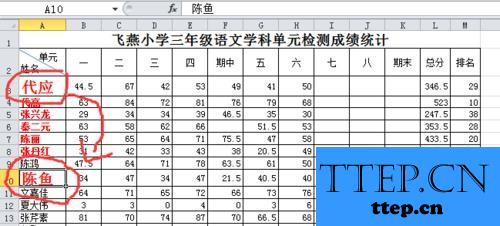
6、如果是跳动单元格处理相同的设置,还可以利用”格式刷“进行设置。利用格式刷后前后两个单元格设置一模一样。
方法:点击你想设置的单元格。如A3。点击”格式刷“。选择你需要设置的单元格。如A10
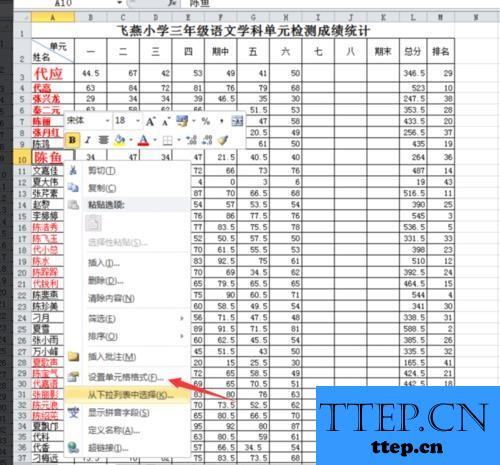
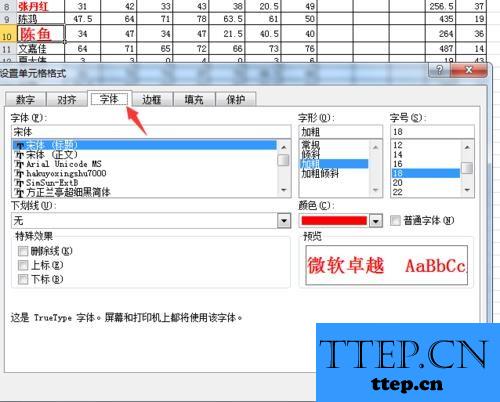
7、另外设置可以在”设置单元格格式“中的”字体“中进行设置。
对于很多不知道怎么去操作的网友们,可以尝试着去使用上面介绍的解决方法,一定可以对你有所帮助。

1、打开一个Excel电子表格,制作表格,输入相关内容。

2、选中需要设置的单元格,点击工具栏中的颜色选择按钮,在颜色模块里选择自己喜欢或适合的颜色,点击即可设置成功。

3、点击工具栏中“B”“I" "U"按钮进行加粗、斜线和加下划线的处理。

4、设置字号的大小,点击工具栏中的”字号“设置按钮,点击相应数字即可设置。

5、还可以进行字体增大和减小处理。

6、如果是跳动单元格处理相同的设置,还可以利用”格式刷“进行设置。利用格式刷后前后两个单元格设置一模一样。
方法:点击你想设置的单元格。如A3。点击”格式刷“。选择你需要设置的单元格。如A10


7、另外设置可以在”设置单元格格式“中的”字体“中进行设置。


对于很多不知道怎么去操作的网友们,可以尝试着去使用上面介绍的解决方法,一定可以对你有所帮助。
- 上一篇:PPT制作 你打包了多少有用资源?
- 下一篇:PPT制作-背景音乐最全面设置教程
- 最近发表
- 赞助商链接